-40%
What you NEED for your Maslow CNC, Water Cooler, Epoxy Glass Case, Chain Guards
$ 26.4
- Description
- Size Guide
Description
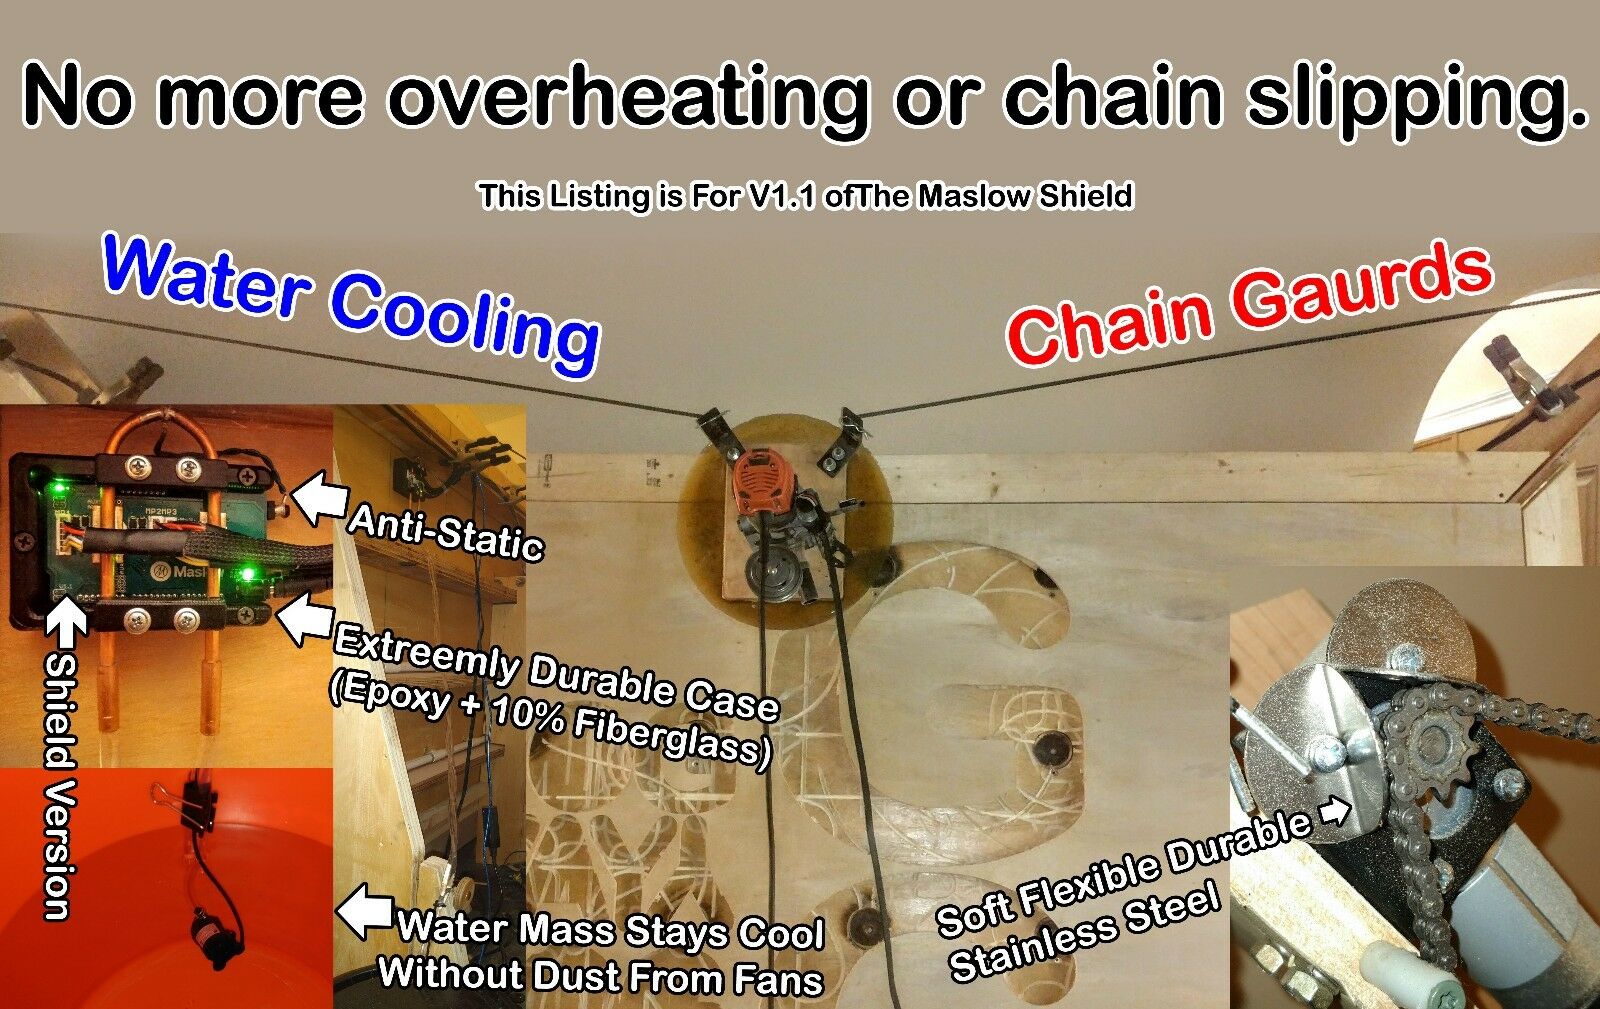
Maslow Shield 1.1 and 1.2b now supported.IMPORTANT... Make sure you select the correct version of your shield PCB. The IC's are in different locations so the water block needs to be properly aligned to work.
When you first set up your Maslow you're going to notice 3 things immediately:
1. The circuit board is just dangling there.
2. Knocking the chain off the sprocket is way too easy to do and it's insanely annoying because you have to set it all up again.
3. The driver chips get hot and the supplied heat-sinks just don't cut it and the ones I got kept falling off.
The solution I'm offering fixes all these problems very well…
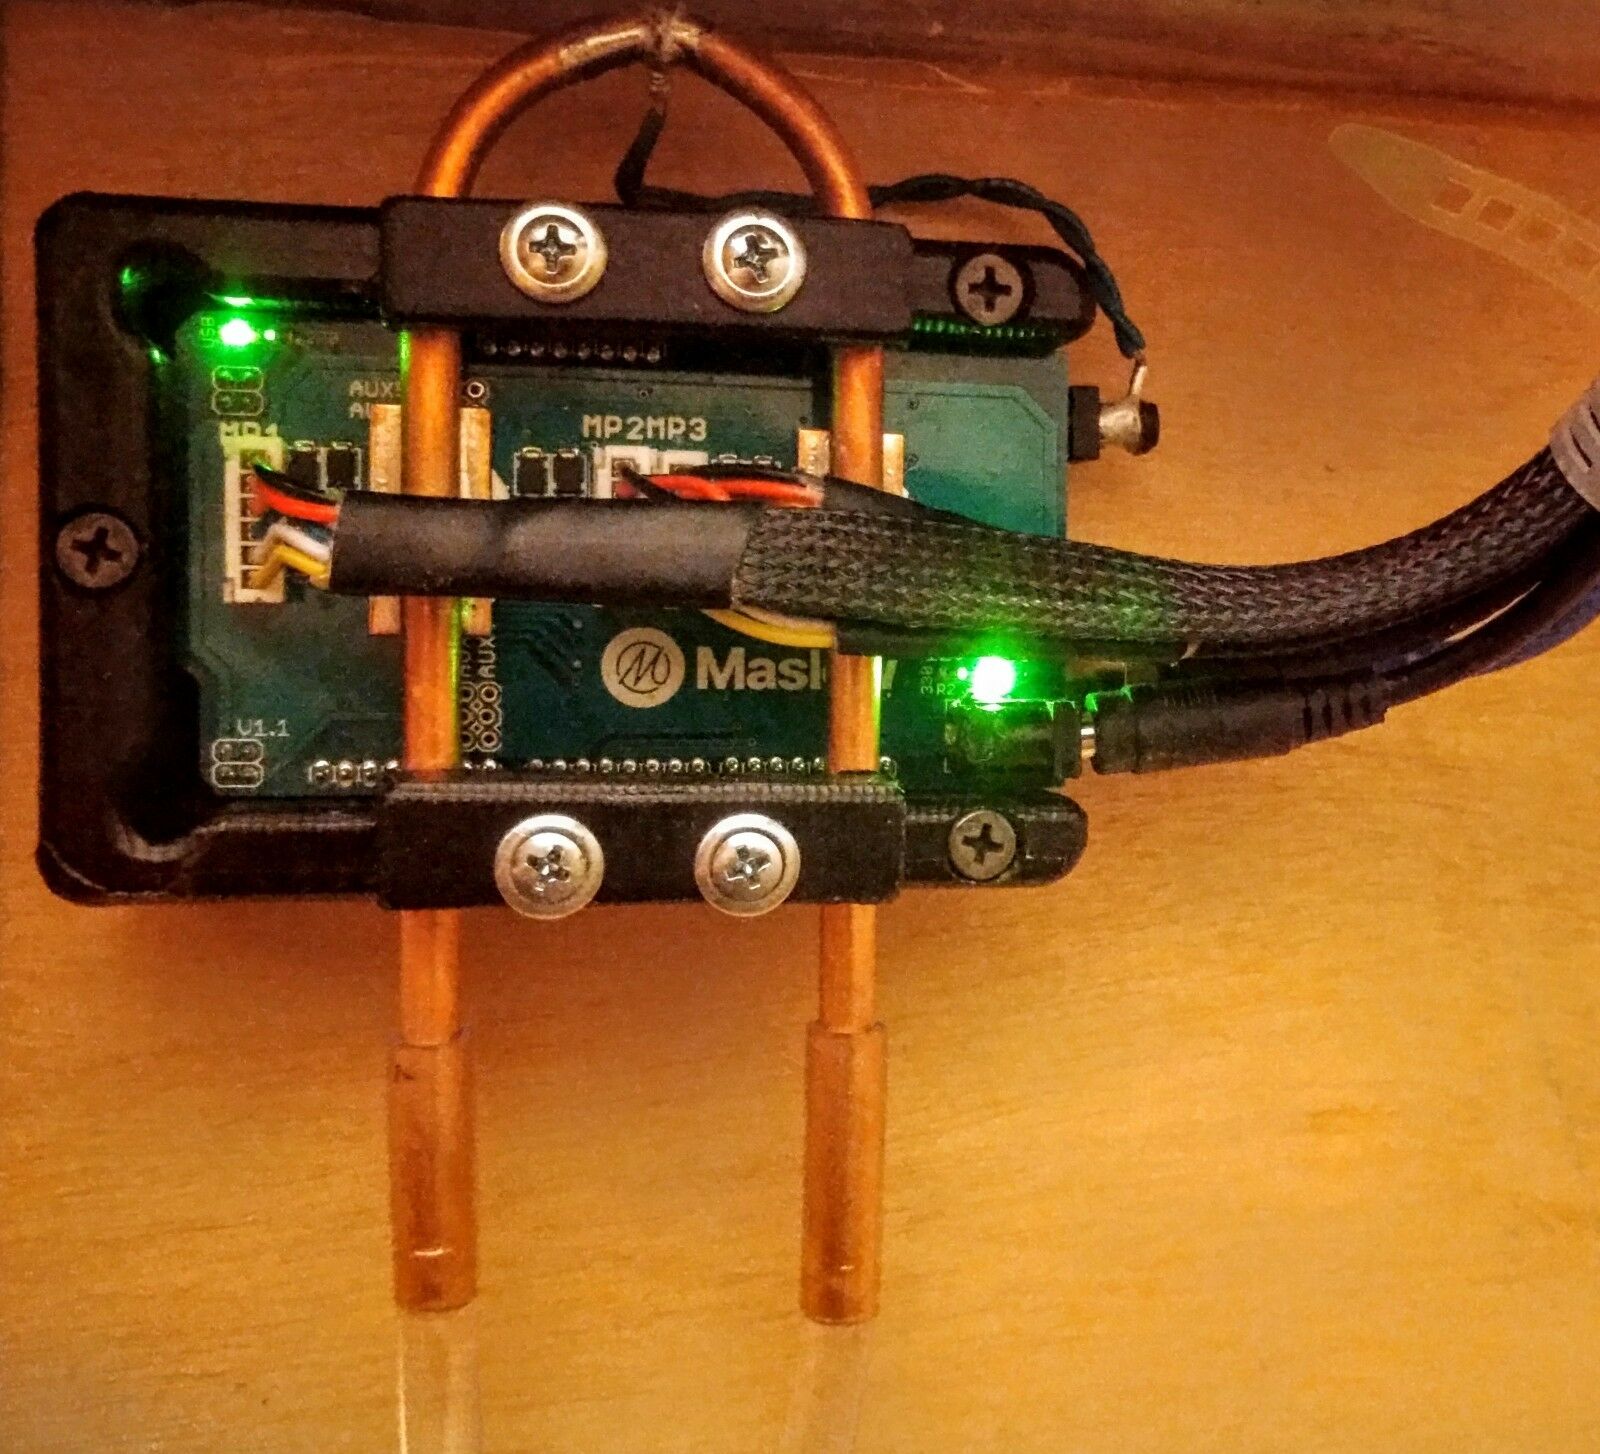
#1. An incredibly durable case made from very thick Fiberglass-filled Epoxy Resin.
It's a semi-open frame design to allow for access to the extra pins should you find a use for them in the future.
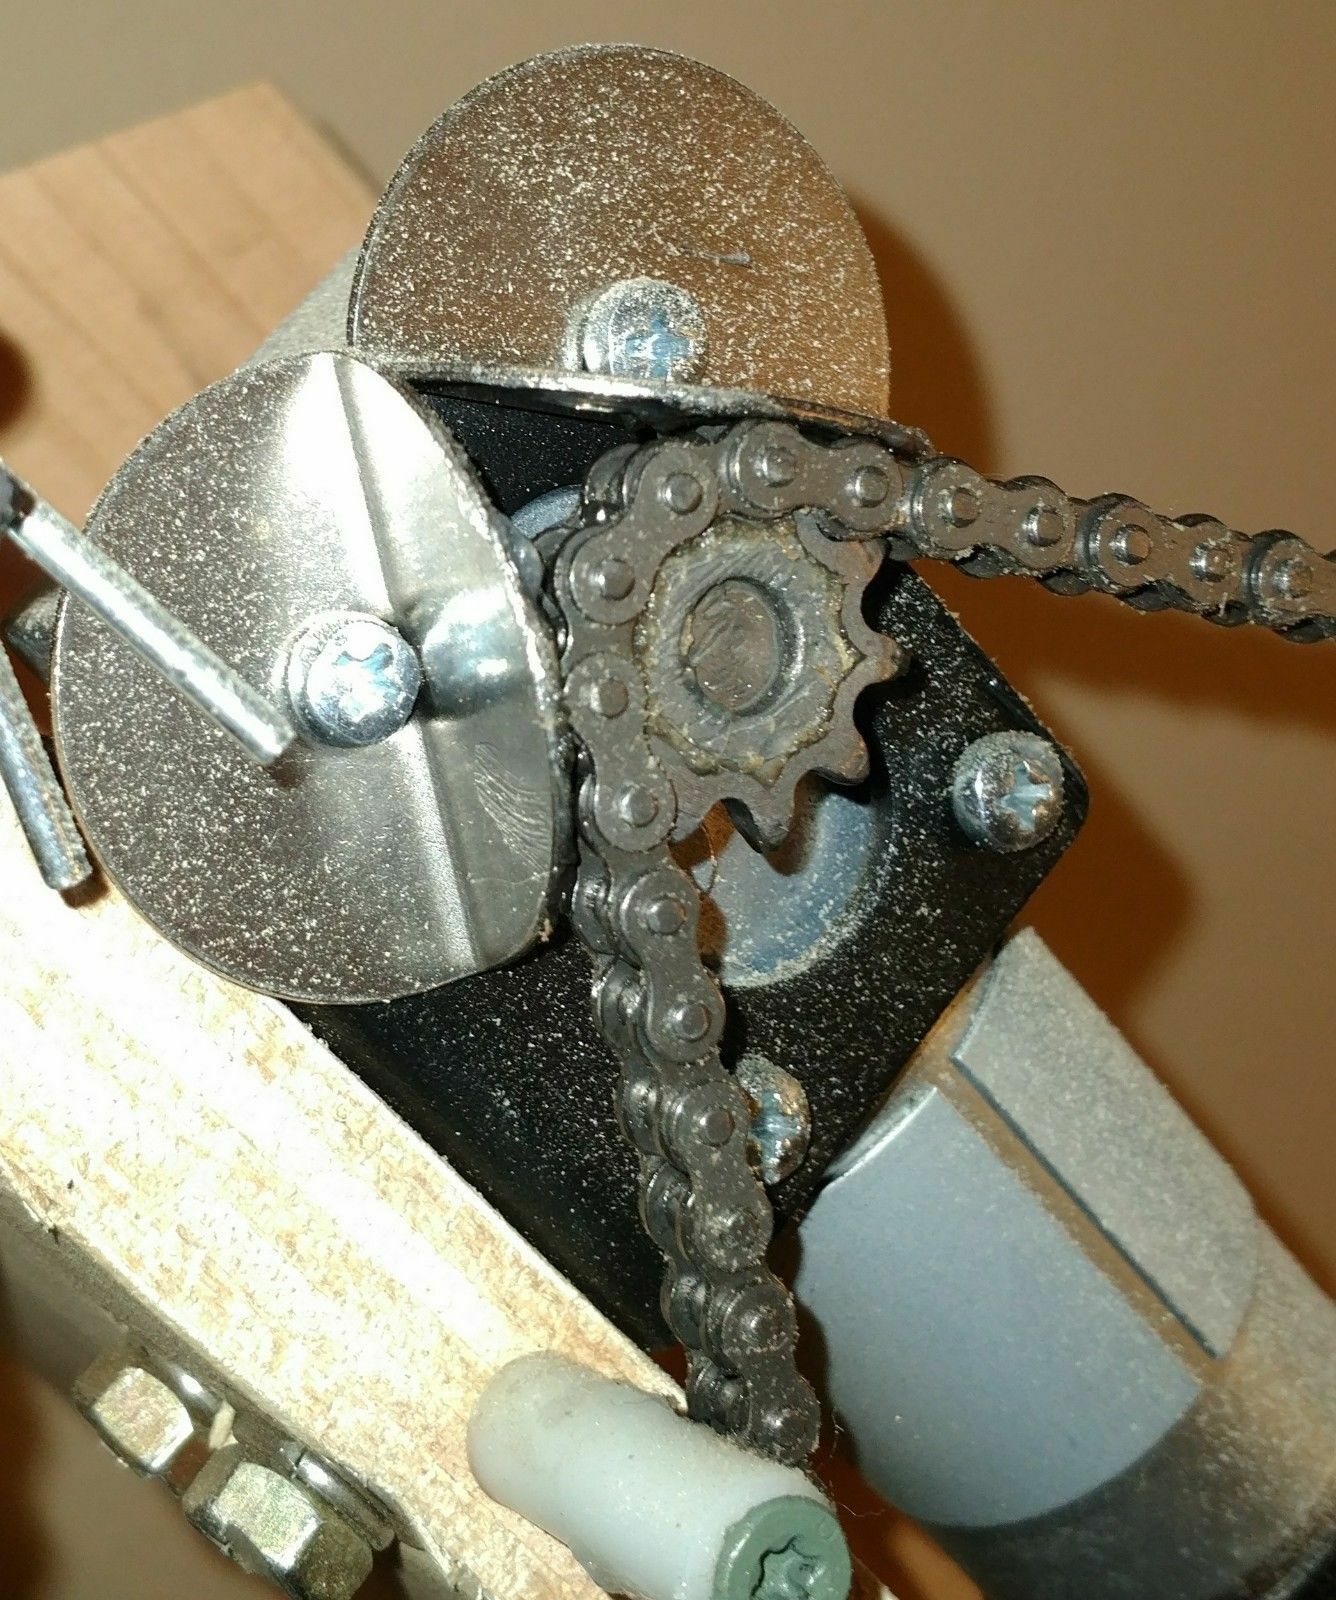
#2. The Chain Guards.
These are very stiff, yet flexible, Stainless Steel washers precision bent to fit the Maslow Gear Motors.
They are softer than the sprocket so they won't damage the sprocket but extremely wear resistant so they will a very long time.
#3. The Water Cooler…
This is the most important upgrade to your Maslow CNC.
When the router is located at the top center of the work area, the forces are at their maximum and the driver chips are generating the maximum amount of heat possible.
These IC's can only handle this power if they are below 70°Celsius.
The water cooler keeps the surface of the ICs a few degrees above room temperature.
You can carve all day long without overheating using this water cooler.
The only thing you need to add is a container with water.
A 5 gallon bucket works great.
No fan is required!
The mass of the water and the entire surface area of the bucket is impossible to overheat.
Simple convection keeps it cool.The case and water block are designed to work together.
The entire upgrade took me about 5 minuets to install.
Most of that time is looking for the Philips Screwdriver and filling the bucket with water.
Keep the bucket covered to keep out sawdust.
The heat gets out through the bucket without any problem.
I've been beating on my Maslow CNC with these modifications and haven't had any problems with it at all.
The supplied heat-sinks can dissipate just over 4 watts of heat at room temperature without a fan, 14 watts with a big fan. The water block can dissipate 120 watts of heat with no fan, way beyond the 25 watts of heat the IC's can generate. (Since the IC,s are kept below the 70°Celsius point they should be able to handle a little more power.)
Other modification I would recommend:
1. Stiffening the frame.
2. Adding a boarder so the router can work close to the edges.
(A few strips of plywood on each edge, flush with the work piece.)
3. Rubber bands pulling the router toward the base so the Z axis works properly.
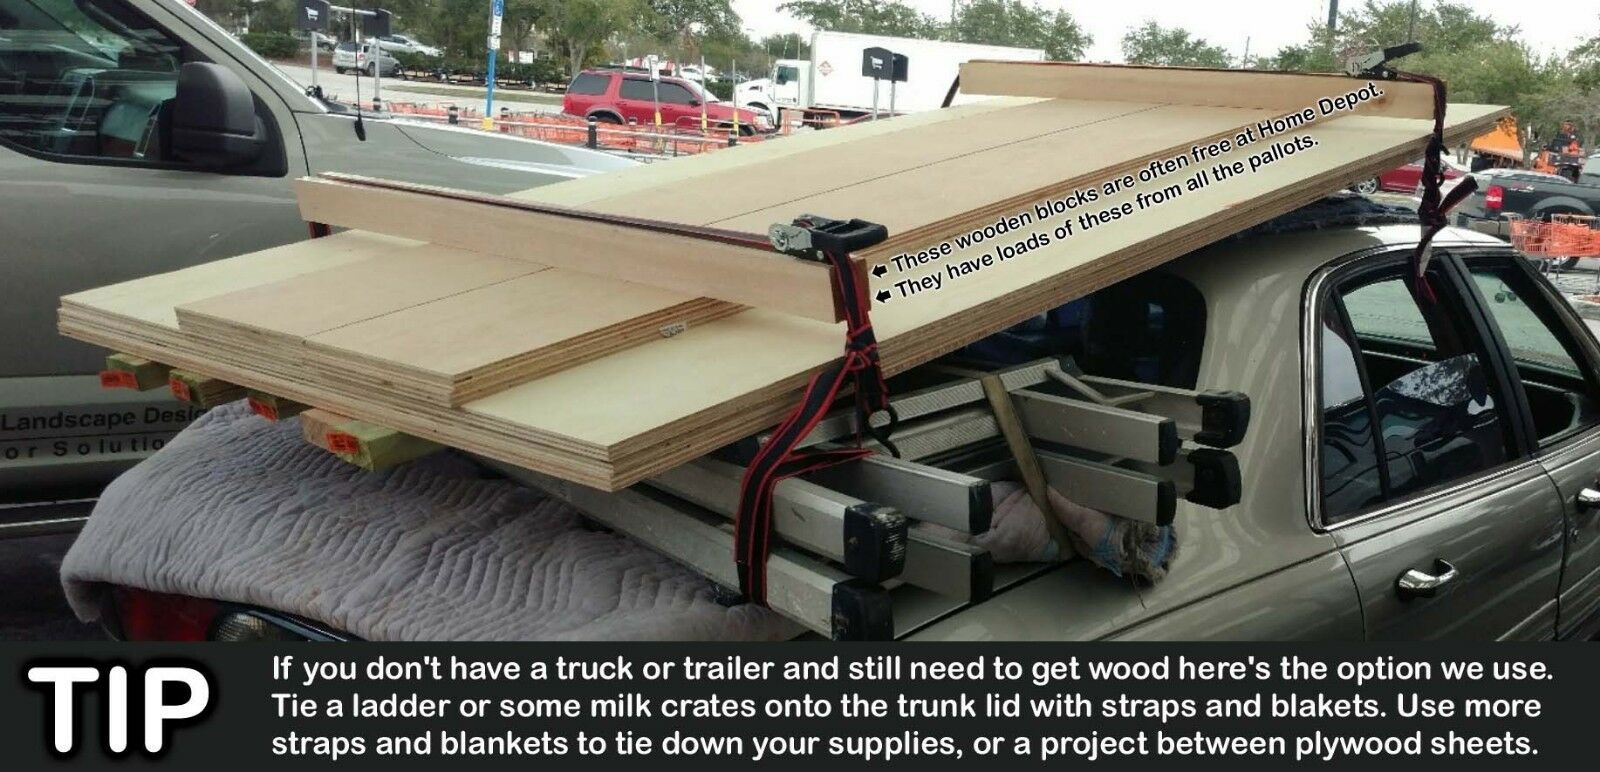
A tip on getting the plywood home with a car if you don't have a truck is shown in the photos.
(Clearly I assume no responsibility for transporting the materials, it's just a tip I use often.)
Quick Install >>>
This comes in two small boxes taped together, cut the tape in the center to open the package...
Total setup should take less than 10 minuets.
Filling the bucket and removing the shrink wrap will be the longest part.
(Wire cutters or fingernail clippers will put a tiny start in the shrink wrap then it peels easily.)
The water block is in one box with your chain guards and some silicone based thermal compound. Remove the screws from the water block, put the Maslow Shield and Arduino into the case, cover the IC's with the compound and reassemble, make sure to align the pads with the IC's and tighten the screws. Making sure it's not higher off the ground than the length of the hose on the pump, use the wood screws and attach to the back of the Maslow, preferably on a small block glued to the back.
Put the Chain Guards on the motors like the photo in the listing. Remove 1 screw at a time, at the guard, replace the screw. It should rub on the chain but the drag is almost nothing.
Even if everything is lined up perfectly and the chains don't fall off, it keeps the chain in the perfect spot if you want to take off the sled. (My cat really likes the stretch string and the chains.)
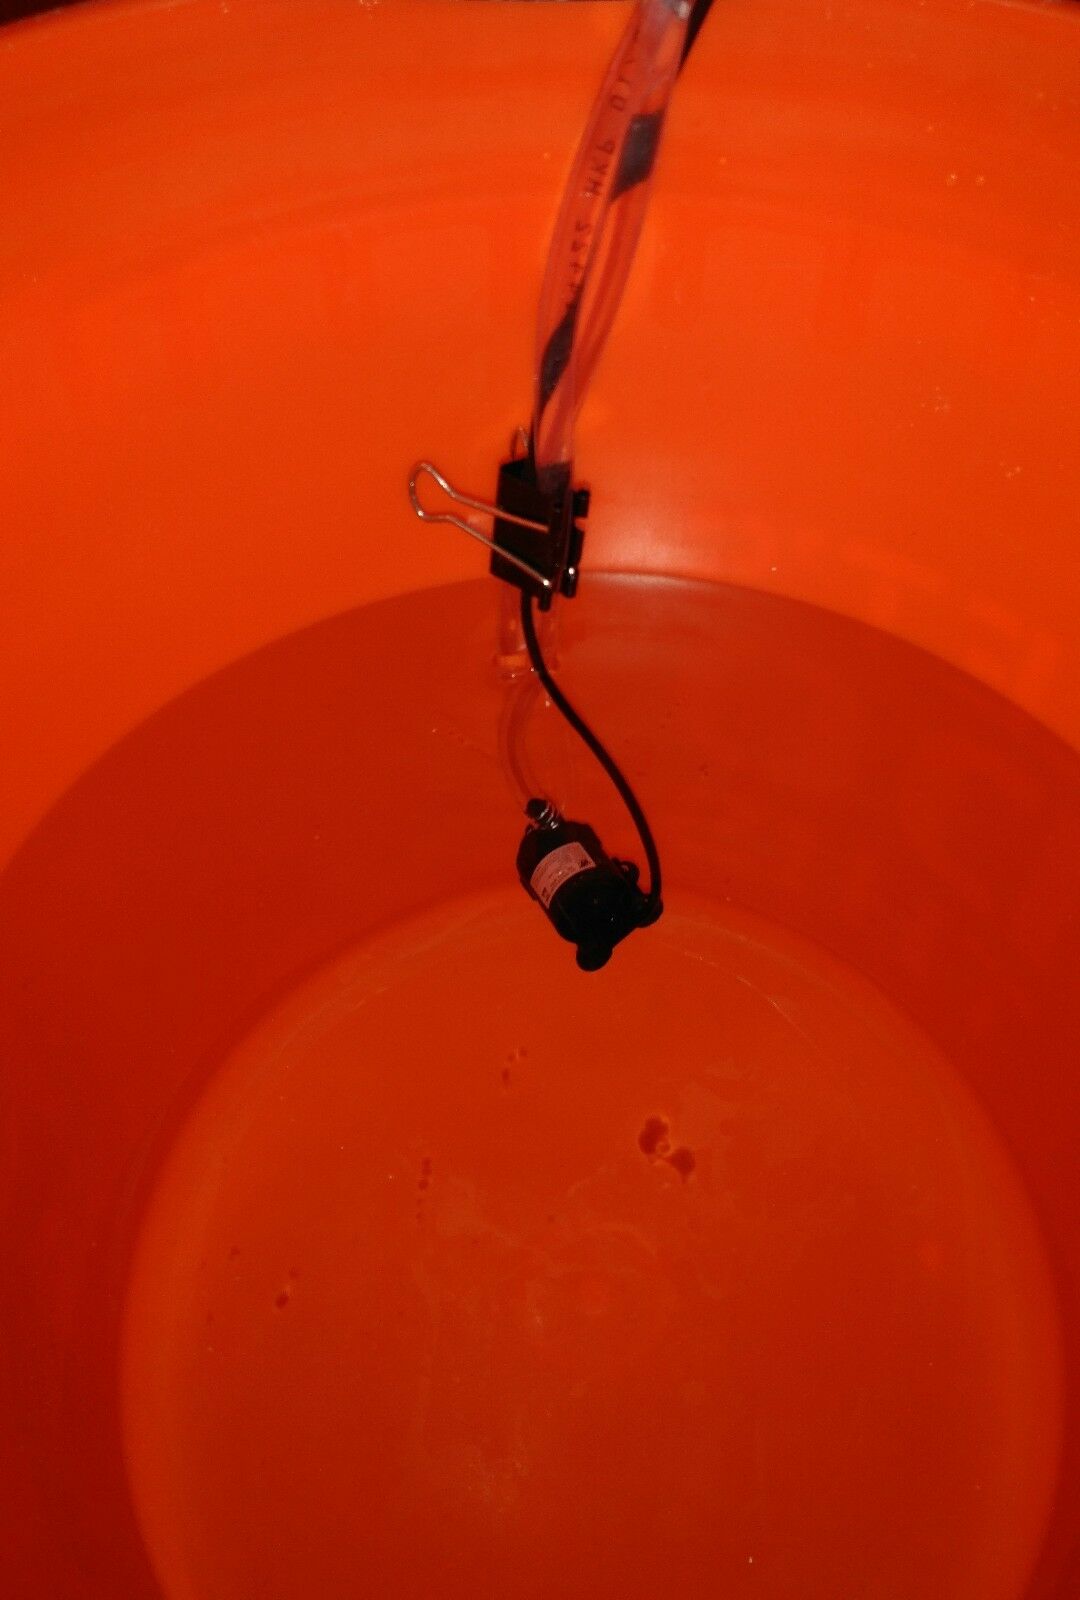
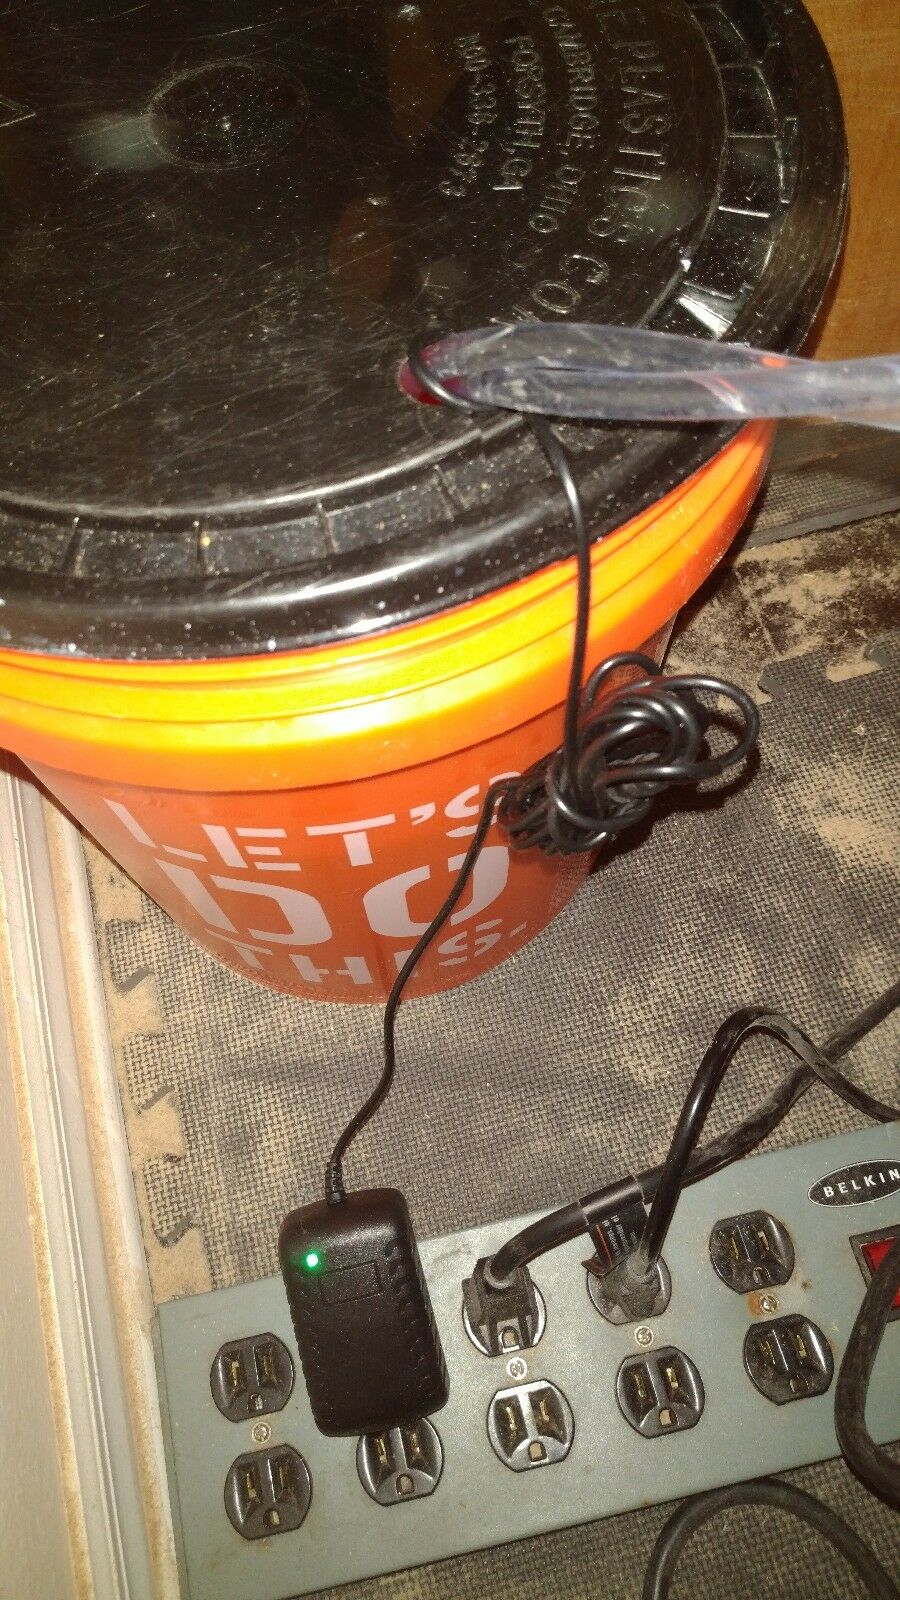
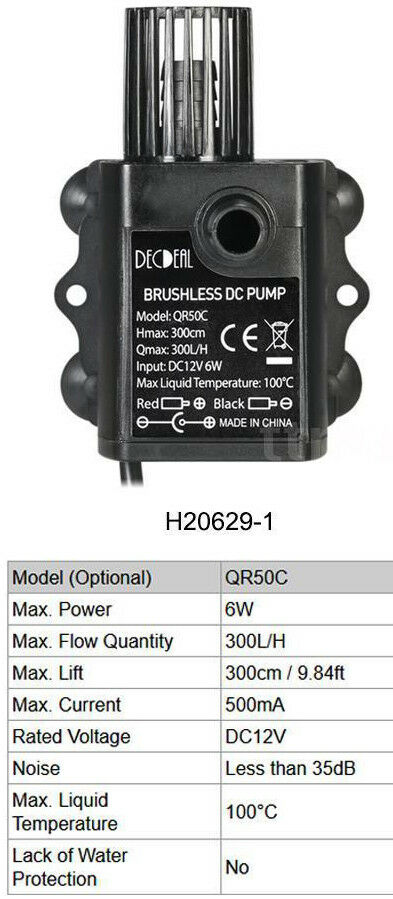
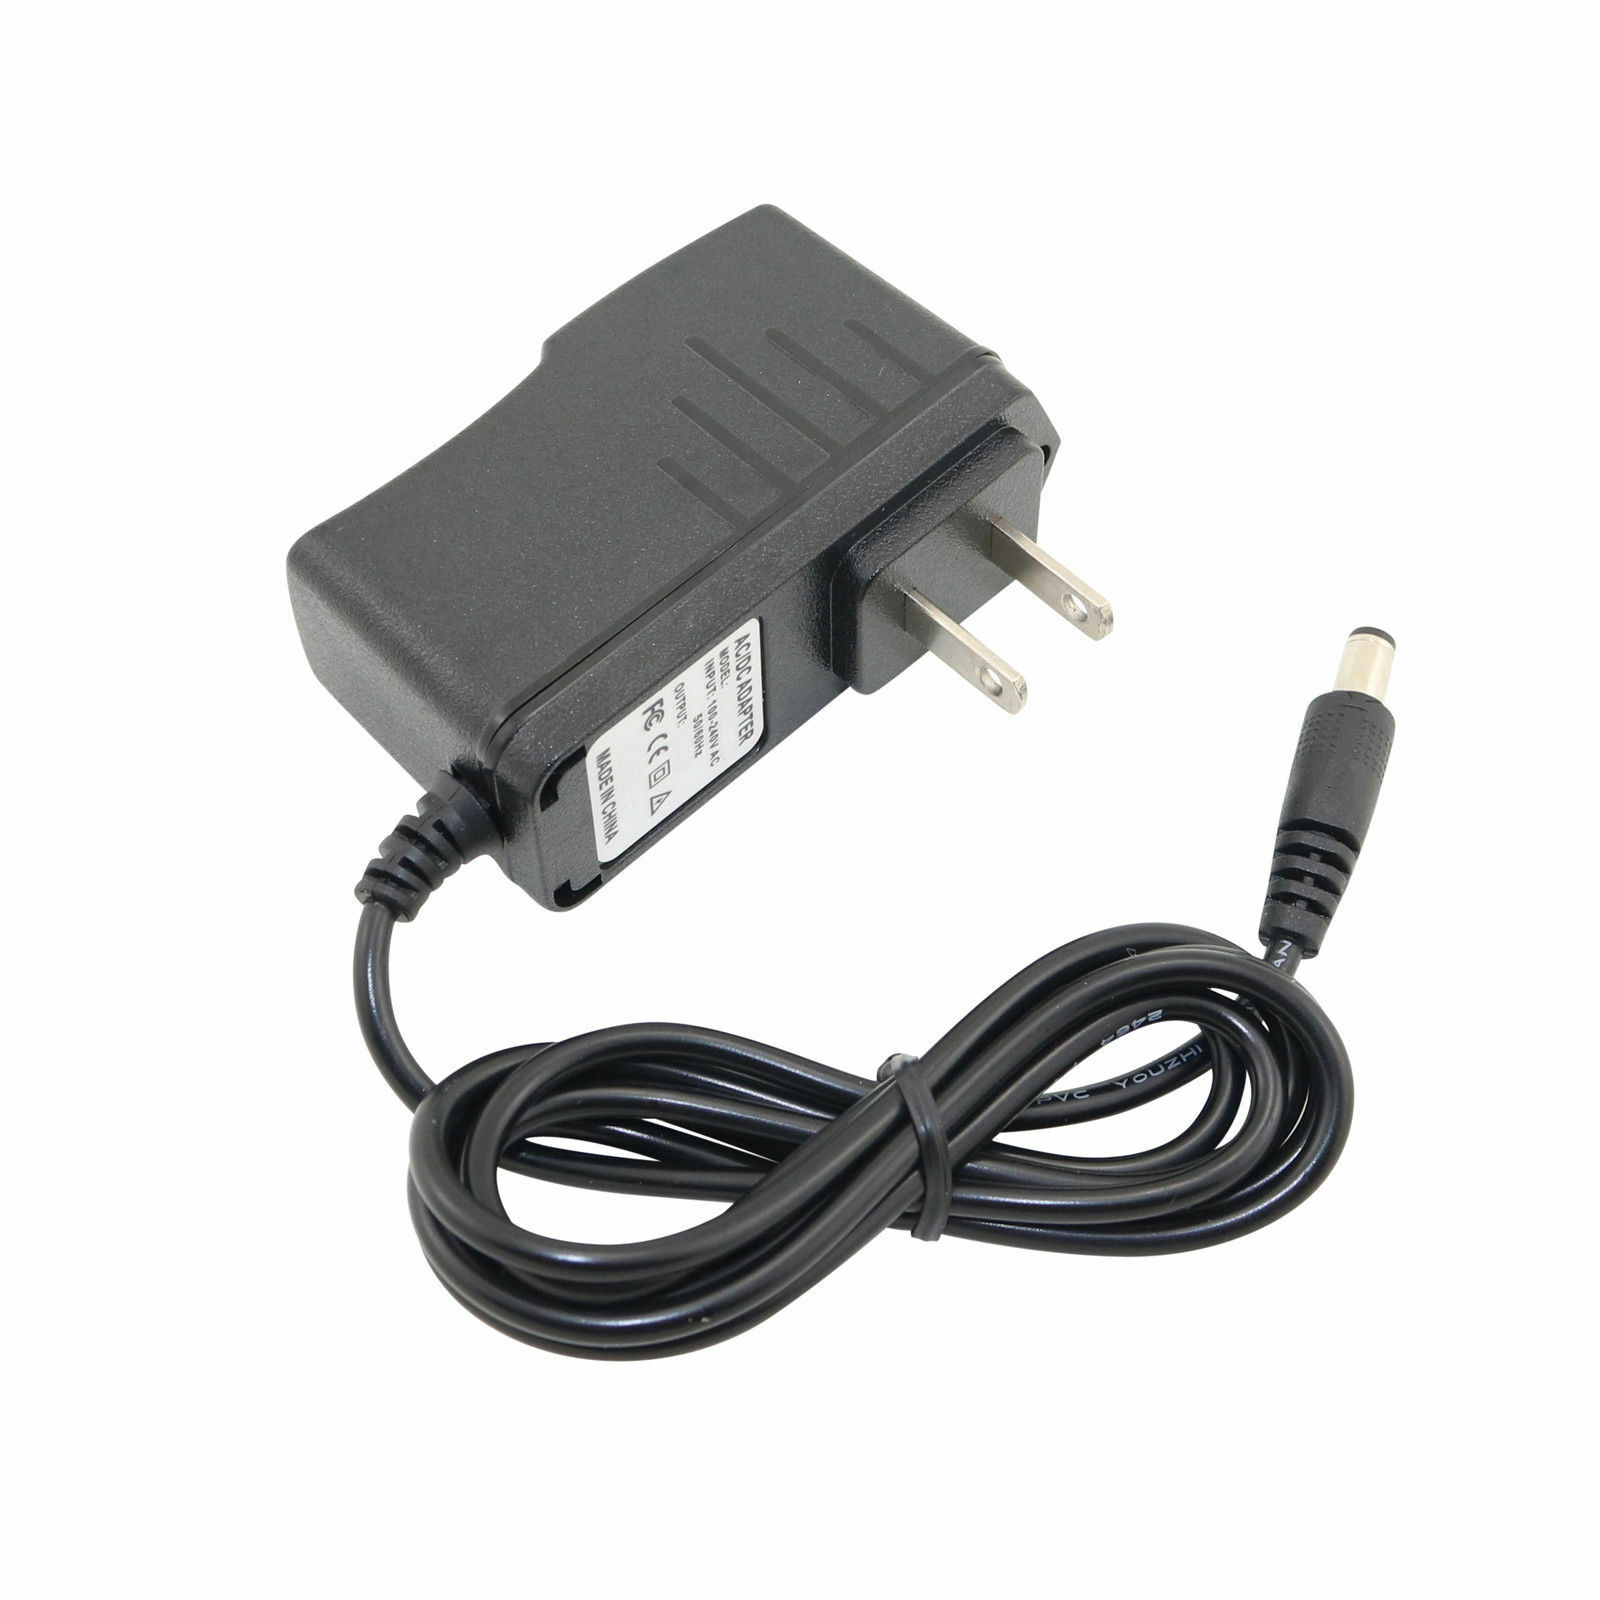
The second box has the pump and hose assembly already assembled. Get a clean 5 gallon bucket almost full and put the pump in the water, feed the wire and hose through a hole in the lid. Make sure BOTH hoses are in the bucket so you don't pump all the water out of the bucket. You really want the lid to keep the dust out. Have the pump close to the bottom of the bucket, seal the hole with tape or a washcloth wrapped around the hoses and wire to keep the dust out. Push the hose ends onto the copper tubing of the water block, it doesn't matter which hose goes on which ends of the copper. It's already been sized to fit. plug the 12VDC Center + 2.1mmx5x5mm power supply int the pump. turn the pump on and of several times to get all the bubbles out of the pump. (If you hear cavitation there are tiny bubbles in the pump.) Cycling the pump uses the momentum of the moving water to suck the bubbles out. The pump should be very quiet as long as it's not touching the side of the bucket.
Make sure the pump is ALWAYS submerged.
You can use 50/50 antifreeze instead of water if your in a cold climate or don't want to change the water.
Make sure the pump is on when you're using your Maslow. Change the water once a week to keep it clean if you're not using 50/50 antifreeze.
If you're moving things around a lot you may want to add hose clamps to the water block to keep the hose from getting pulled off.
(There isn't any pressure that would push the hoses off under normal use so clamps shouldn't be needed.)
<<< End Install
Unfortunately for me everyone that bought the Maslow seems to be on a tight budget so Iv'e lowered to price to making almost nothing on this.
IT'S A LOT OF WORK MAKING THIS BECAUSE IT'S BUILT VERY WELL, FROM QUALITY MATERIALS, TO TIGHT TOLERANCES!
While this kit looks simple, there are actually a lot of steps that go into making this kit...
The case:
Obviously designing the master mold (a one time thing).
Create silicone working molds. (Mix, degass, pour, pressure, heat, time, remove, boil, cool)
Mixing of the epoxy, fiberglass and black tint.
Degas the epoxy.
Pour the epoxy in the molds and place them in the heated pressure tank.
Demold the parts, sand bottom, drill holes to finished sizes.
(Her's a tip: Most resins change sizes when cured so make critical holes too small and drill them after casting.)
The tubing with pump:
Heat with boiling water and expand 1 end of 10' of tubing and let cool.
Insert the pump.
Circulate hot water to soften the tubing.
Fold the tubing in half and stretch while it cools.
Add the hose retainer and slide down to the pump end.
Cut the hose at the half way point and drain the water.
Twist the hoses together (acquired skill).
Add the other hose retainer.
Heat the two open ends in boiling water and slide the hot tubing onto the water block.
Circulate boiling water through the system for 30 seconds then hang vertically and allow to cool.
Once cool the water block is separated for shipping but the tubing now fits.
Making the water block:
Start with a length of 1/4" soft copper tubing
Then spend a lot of time hardening, cutting, and bending the tubing under high pressure.
(A lot of secrets in this part, sorry)
Take the flat copper bar stock and cut to appropriate lengths.
Clean the copper, align and add flux.
Use the torch to solder the flats to the tubing.
Add the ground wire and plug.
After cooling wire off the flux.
Machine the ends of the tubing to be rounded.
Attach a cooling pump to the water block and power it up.
The most important part... belt sand flat then hand lap the water block.
The Chain Guards:
Fairly simple, make sure the bender (brake) is set properly and bend the stainless steel washers.
Make sure the rounded edges face outwards.
If the pressure required to operate the bend is notably above or below the norm, discard that washer.
Shrink wrap 4 Chain Guards onto the Styrofoam for later shipping.
If you just buy the washers you may get ones that are too soft, too hard, too thick, too thin. (I've already done the testing for you.)
Packing:
Fill a tube with heat sink compound and cap and applicator.
Heat wrap the extra water pump parts (filter and feet).
Put the water block in the case and add screws.
Add the Chain Guards.
Heat wrap the pump/hose assembly and power supply with pump parts.
Heat wrap the water block, heat sink compound and chain guards.
Assemble boxes (they come flat)
Add bubble wrap and insert the two heat wrapped items.
Tape the boxes.
Shipping:
Print and apply shipping label.
Tape over the label to protect it.
Put out for carrier
